
Helmet Washing 101 With Shoei’s Matthias Beier
Share
INSTAGRAM | @swapmotolive
INSTAGRAM | @shoeihelmetsusa
www.shoei-helmets.com
We’re coming to a critical part of the year for motorcycle riders. For many, the quickly approaching winter means their bikes and gear will be put into storage, where they’ll sit idle and untouched until the spring. For others, the end-of-year rains and cooler temps will keep them at the track or on the trails for months to come. Either way, now is an excellent time to take inventory of your gear bag and give important items some much needed attention.
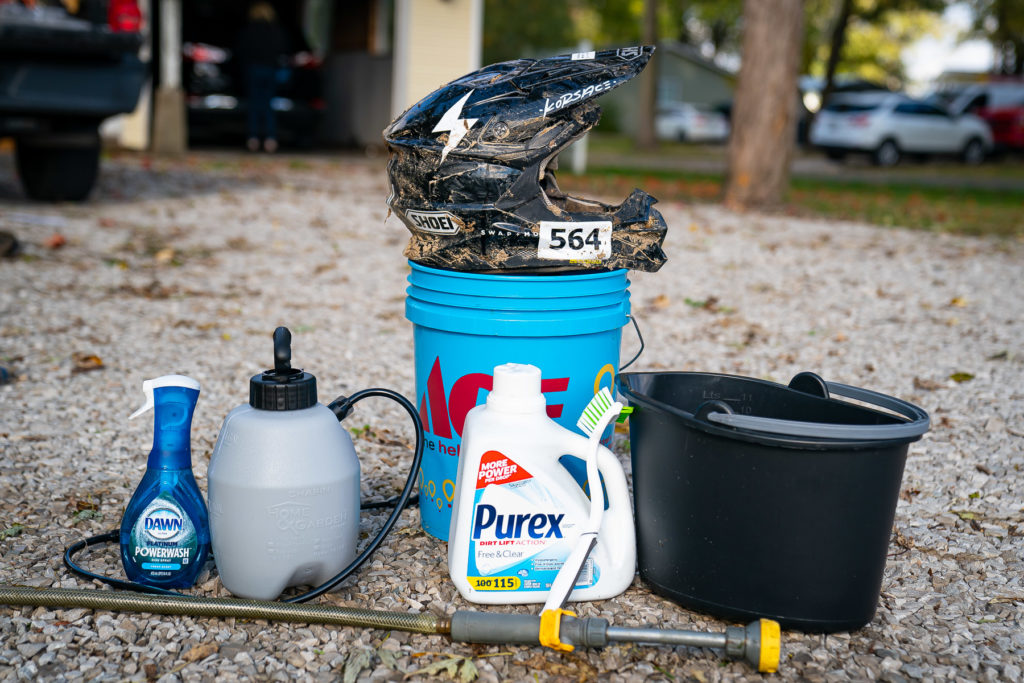
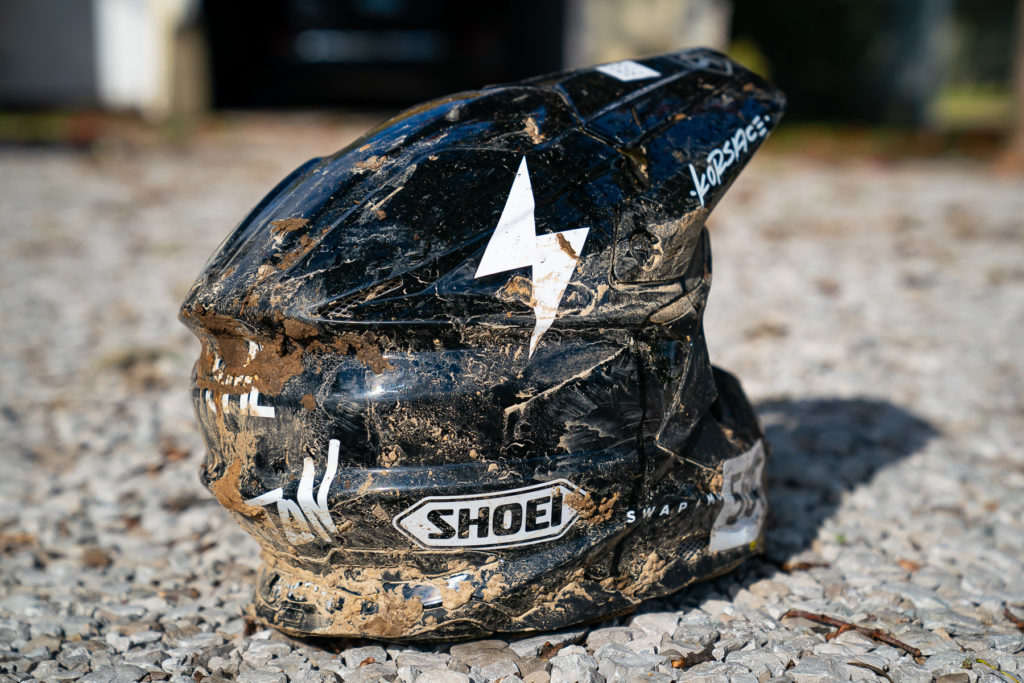
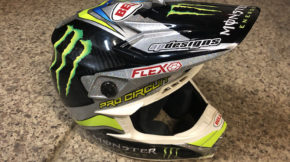
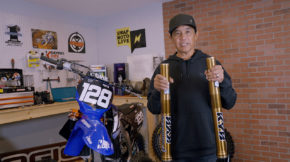
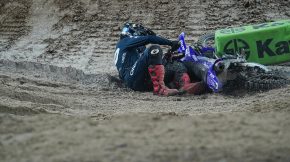
The most important piece of equipment is your helmet, and if looked after properly or not subject to a serious crash, a skid lid can last up to five years. Regular cleanings of the shell, EPS foam, and liner are necessary, as it’ll ward off the dirt and bacteria that wreak havoc on the shell and pads. The extremely muddy conditions of the 2021 Ironman GNCC did a number on our Shoei VFX-EVO, so we reached out to Matthias Beier of Shoei Helmets USA and asked him for a detailed explanation of intense cleaning routine.
“When a helmet gets like really caked in mud and it’s really filthy, you should remove all the interiors and wash those separately, then wipe down the inside of the helmet with a very saturated cloth,” he summarized. “Get as much of that grime out of there as possible, and then gently rinse it out with water so that all the ventilation channels will drip through a little bit and get all that mud and stuff that’s inside there out.”
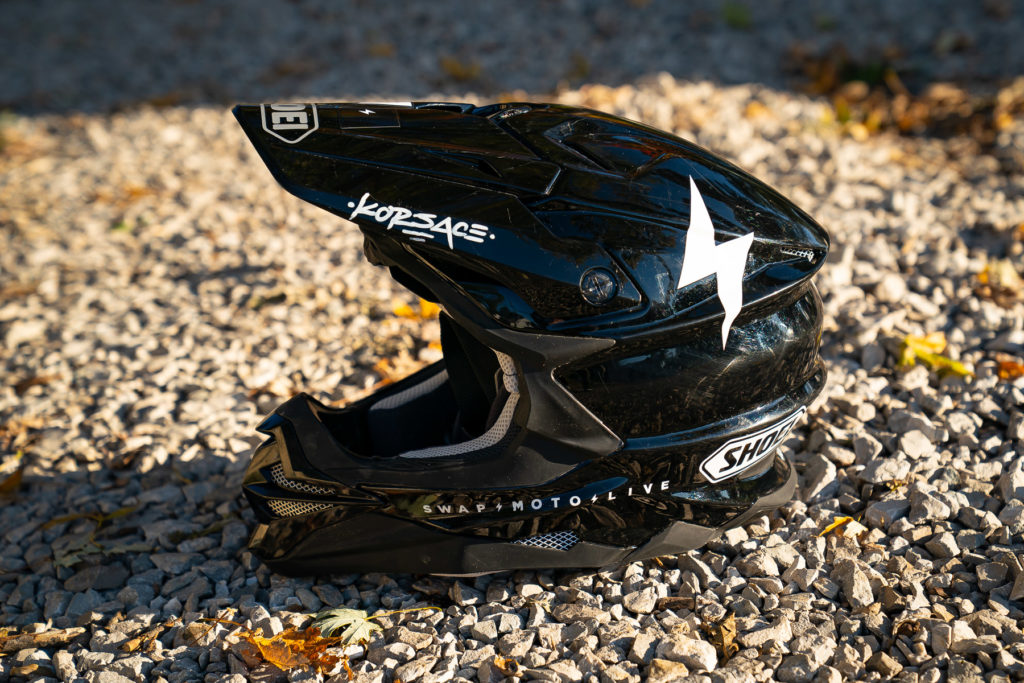
Although this advice might seem basic, we know there are riders who are unsure of the basic methods and that have damaged their helmets as a result. Scroll down to read the thorough regimen described in detail by Beier and see how each step was put to use on our VFX-EVO.
SHELL
The shells are obviously very hard, and they out often outlast the EPS. We always recommend a very neutral detergent, cool water, and rinsing it off on the outside shell.
A neutral detergent, like laundry detergent or Dawn dish soap, is great. The worst thing you can do is use solvent or chemicals that will harm plastic components or the EPS.
Do not pressure wash your helmets or use high-pressure water, which is a common thing, even with the factory teams. They pressure wash the bikes, put the helmet down, and hit it with high-pressure water; that can be very dangerous to EPS materials. If you want to use gentle water and rinse it out, that’s okay, but high pressure is definitely not a good thing.
You can scrub the crevices and the holes for the ventilation on the outside with a toothbrush. When you rinse it from the inside of the EPS, the dirt and debris will flow all the way out of the helmet.
Cleaning the mouthpiece is an essential task. After you take that screw out, it’s really easy to pop the mouthpiece out of there and inside is a mouthpiece filter, which is one of the parts that gets dirty the most. Getting that cleaned up is very important for the ventilation and it will lighten up the helmet weight a bit.


LINERS
The most common item to wear out over time is the interior liners. They get filthy, especially for a moto helmet, unless you watch them regularly. If you try to keep them fresh, it will expand the lifespan.
That porous foam in center pads and our cheek pads are all made out of bounces back to life. A dirty, grimy cheek pad will get compacted, squishy, and stay compacted. But if you clean them, they are kind of like a sponge and bounce back to life. And that’s another way to retain that good fit and extend the lifespan a little bit longer.
We recommend washing in neutral detergent in cool water, rinsing the liner thoroughly, and then air-drying with a fan.
If you wish to wash them with your riding gear in a washing machine, you should put them in a mesh laundry bag. That protects the liners so they don’t snag anything, and it’s an easy way to keep them fresh.
New liners can easily be replaced. If your liners get old and everything, you can easily buy a new liner, and it’ll fit just like it did when the helmet was brand new. It’ll have to break in a little bit, but a brand-new liner will pop in there and feel like a new helmet again.


The EPS liner is fixed into the shell, so it can be a bit daunting to clean it out, especially with that Motion Energy Distribution System [M.E.D.S.] system, because you don’t want to torque or twist or do anything like that to the inside. Be aware of it, but don’t do too much to it. It’s just like a normal EPS where you can clean it and rinse it out. Just be gentle with it while you’re in there and don’t use any tools.
You want to saturate it gently, rinse it out, and eventually, it’ll air dry. We say be gentle because you don’t want to torque on the M.E.D.S. liners or anything, and you don’t want to wipe away a SNELL sticker or a production sticker, because that’s important for us to know if we ever inspect a helmet.
If you feel that the helmet after breaking in felt a little bit too loose or a little bit too snug, consider optional pads to optimize that fit, because you can go a little thicker or go a little thinner. A very common problem is that customers will buy a helmet that’s too large for them, and after break-in, it becomes too loose, which is a little unsafe. We recommend thicker pads to people when they realize they’re not quite the right size after the break-in.
When it’s time to reinstall the liner, we recommend starting in the very front section of the center pad. Place the center pad in the helmet, then clip and tuck in that front part right in the middle. Hold it firmly there and then work the sides. The trick is to start in the middle, hold it with one hand, work the side, switch hands, and work the other side. On other helmets, you start on one side and then work it all the way across, but that’s a bit more difficult with a VFX-EVO helmet.
You can also flip up the beading when you reinstall the liner because it covers up the receiving part of the center pad. If you flip the lip up and over the ventilation hole there, you will have total access to position the liner. Don’t forget to flip it back down afterward, so it’s not blocking the ventilation.
STORAGE & TIPS
It’s important to let a helmet completely air dry after you wash it, or if it gets wet and saturated. You never want to tie up your helmet in the carrying bag and put it in storage while it’s still wet because it’ll grow mildew.
Extreme heat is a bad thing. It depends on the temperature, of course, but if you live in an area where it can get very hot, we recommend storing helmets inside or in places with a consistent temperature.
A trick one of the technicians here likes to do when he lets a helmet dry is to put a couple of dryer sheets on the inside as it’s ventilating, and then it has a nice smell afterward. Just put a couple of those inside there and as drying out over a fan or something and that’s a perfect way of getting all freshened up.
Although it’s common for people to put their helmets in direct sunlight after a moto to dry, we do not recommend it because the heat can cause the EPS to expand or change. Instead, keep the helmet in the shade when you’re not riding, and remove the liner if you want the sweat or moisture to dry out.
You should never hang your helmet from the bike or the handlebars. It’s possible that the bike will get knocked over, and if the helmet resting on their handlebar and the bike tips over onto it, that can punch a hole in the EPS, and it’s destroyed. And we see it happen so often.
Keep your helmet away from pets. We’ve had pets chew up the EPS liners and destroy a helmet because it’s saturated with the pet’s favorite smell, which is you.


